
Proper Installation of the UGO (Universal Gas Orifice) on Unassembled Fire Pit Kits
Issued by: HPC Fire Inspired
Applies to: Unassembled burner kits and match-lit kits (Uncertified units)
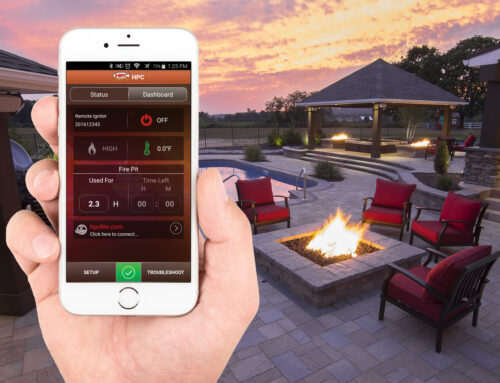
It’s been nearly a year since HPC Fire Inspired launched the UGO – Universal Gas Orifice, and it has quickly become a success in the market. Designed to simplify inventory management and eliminate issues related to incorrect gas types; the UGO allows for field conversion between natural gas and propane without dismantling equipment. HPC’s UGO now comes standard on all assembled and certified appliances as well as all unassembled burner and match lit kits.
As we continue monitoring the performance of UGO within the field, we’ve identified some installation mistakes particularly in unassembled kits that may cause issues such as gas leaks due to back pressure. This bulletin is intended to clarify proper UGO placement and orientation to avoid these problems.
Proper UGO Location and Orientation
Let’s discuss the proper location and orientation of the UGO during installation.
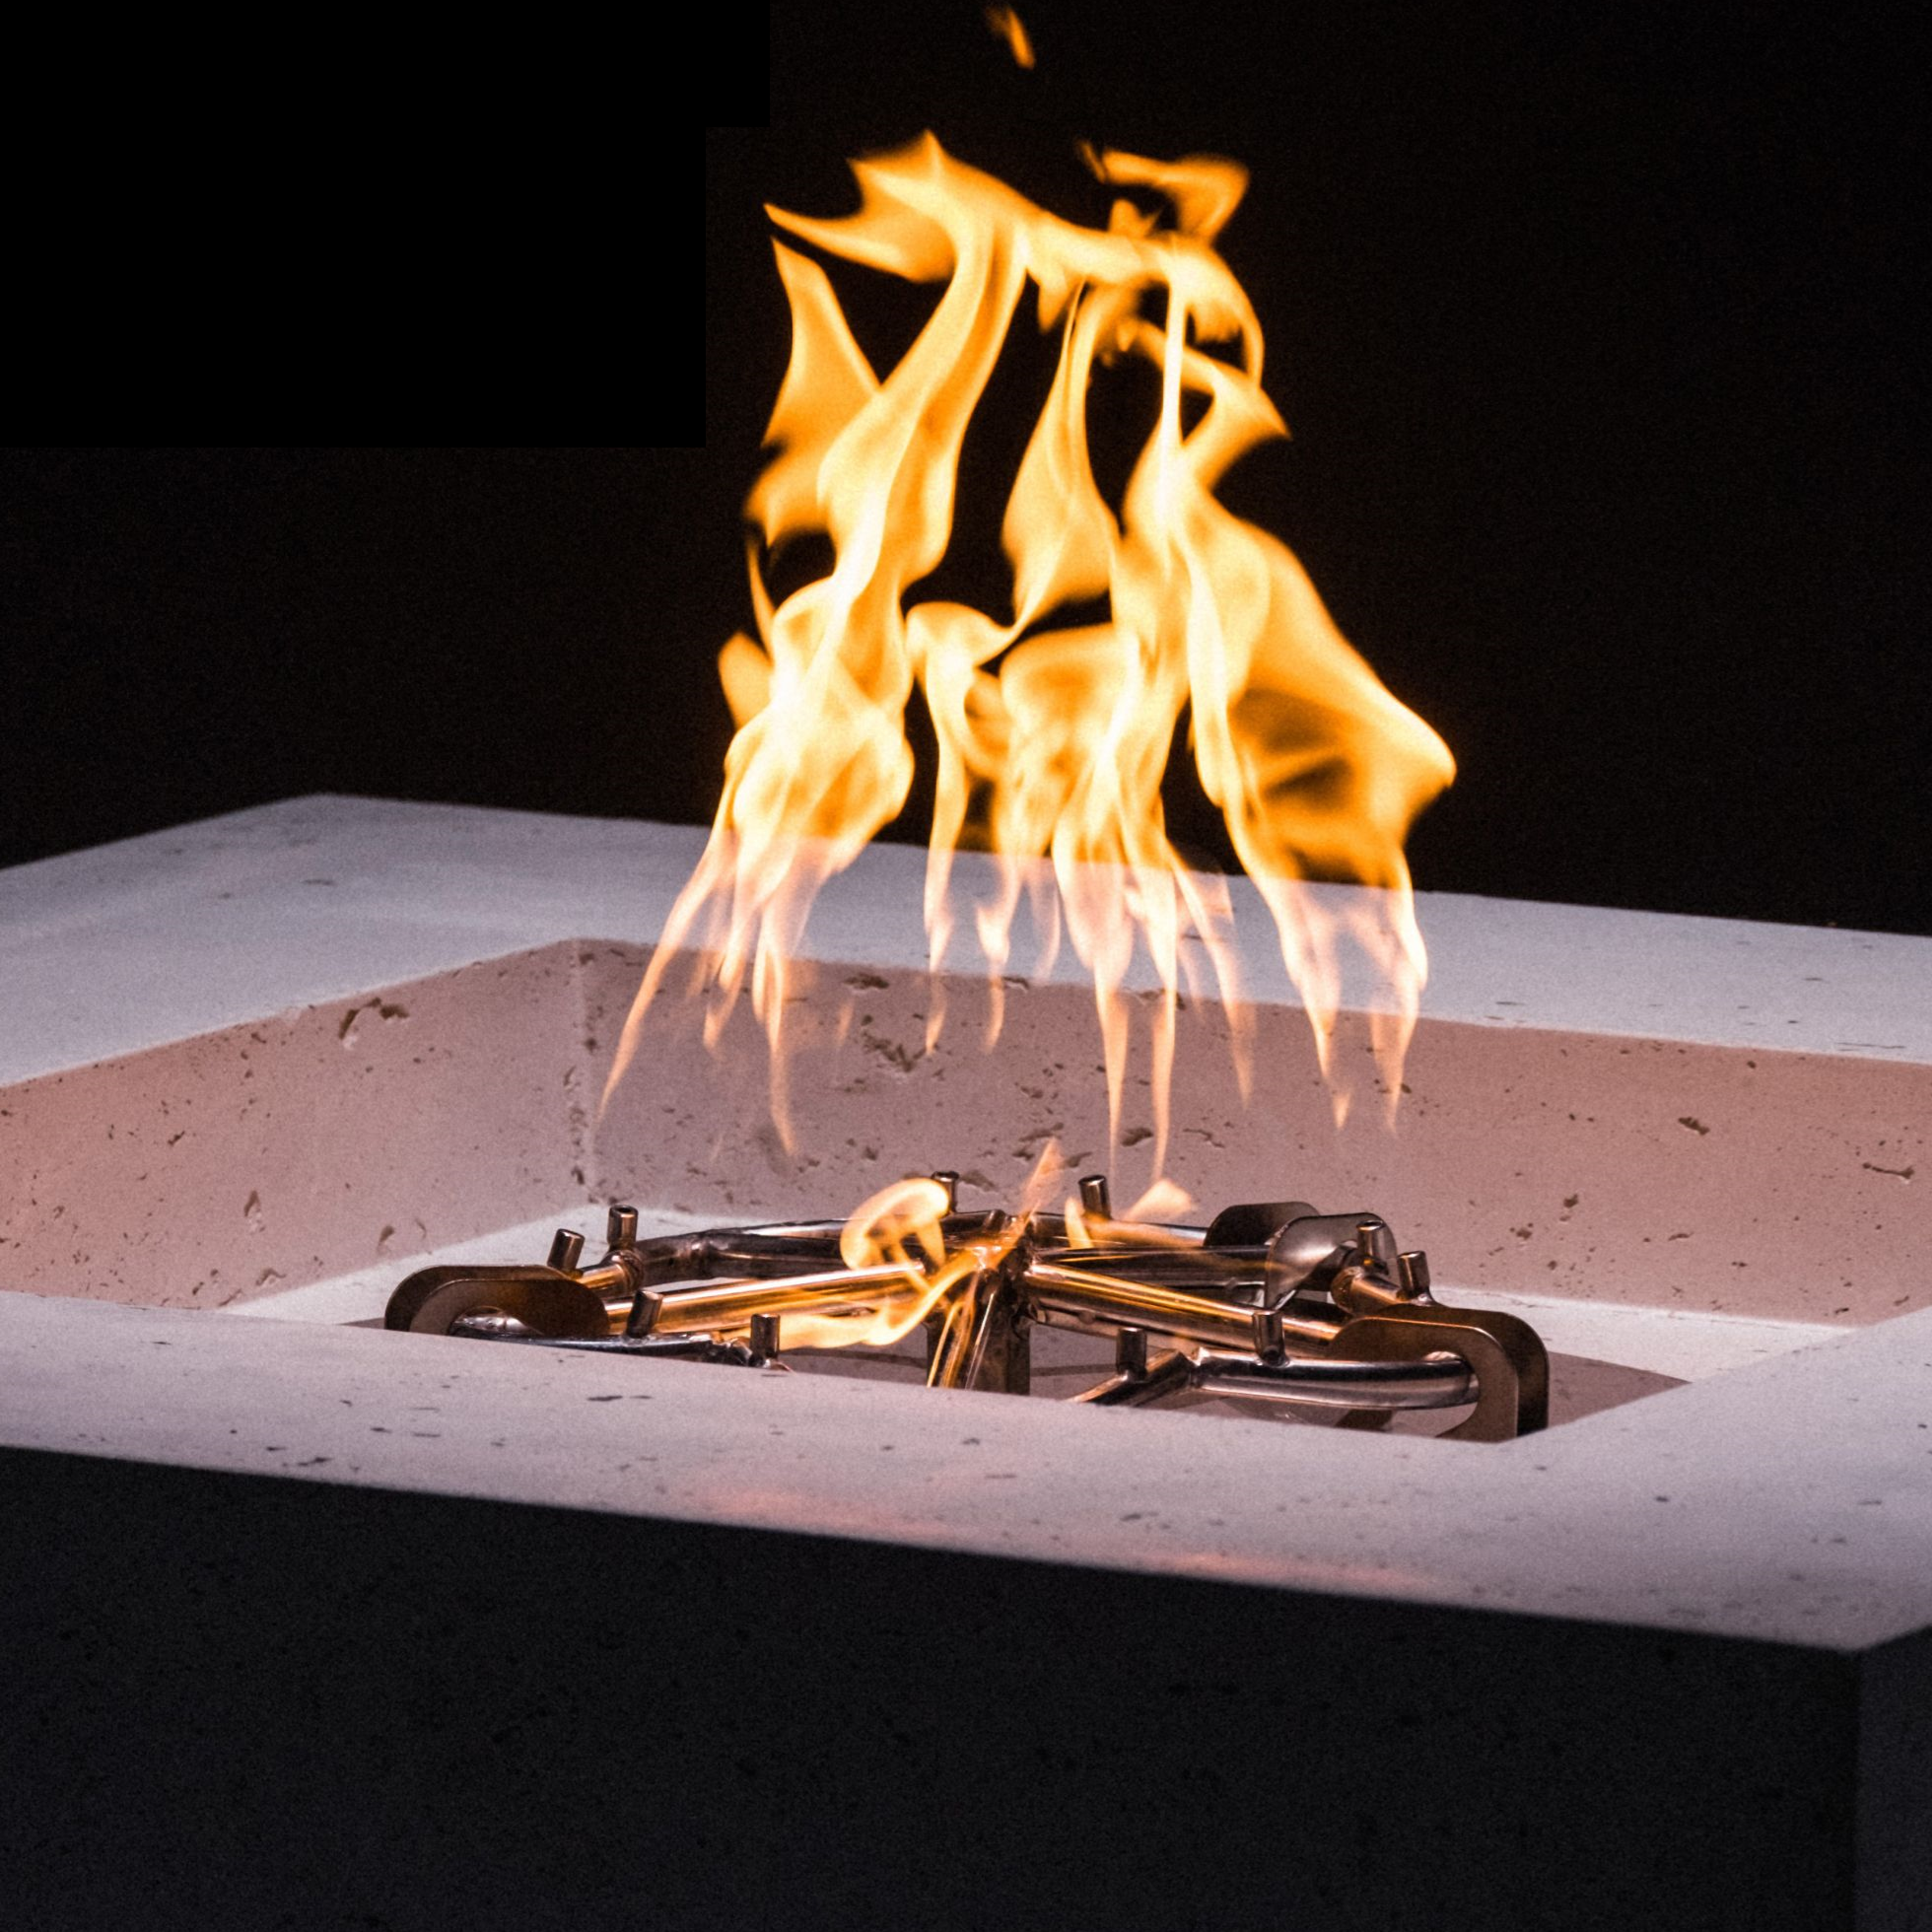
The UGO should be placed under the burner and in the vertical position as seen in the image below. This configuration allows for smooth, direct gas flow and prevents “back pressure” from being applied to the UGO fitting eliminating the potential for gas leaks around the collar.
Avoid installing elbows, flex connectors, or other fittings between the UGO and the pan. The UGO must be installed right before the burner and the pan; installing the UGO too far from the burner can increase static pressure and compromise sealing at the fittings.
🚫 The Do’s and Don’ts of Unassembled UGO Installations
❌ DO NOT:
- Do Not Install the UGO all the way back at the key valve or any other control valve
- Do Not Install an elbow after the UGO
- Do Not install a flexible gas connector after the UGO
- Do Not Install the UGO directly into the burner
✅ DO:
- Install the UGO below the burner and in the vertical position with the gas flow arrow in the proper direction.
- Use a gas nipple and coupling to position the UGO at the proper distance down from the burner (2”-3”)
- Always follow and consult HPC Fire Inspired installation instructions for proper UGO installation
- Always perform a proper leak check once installation is complete.
⚠️ Notes & Support
This bulletin applies only to unassembled and uncertified kits, such as burner and match-lit kits.
Assembled and certified HPC appliances are factory-built and tested to ensure proper UGO performance prior to shipment.
For questions or help with UGO installation, contact HPC Technical Support to speak with one of our NFI-certified technician.
Tech Support: 937-436-9800
HPC’s Universal Gas Orifice is a game changer in the marketplace and the field due to its innovative design that significantly simplifies installation, enhances safety, and increases efficiency for gas fire features. Traditionally, technicians needed to carry and identify multiple orifices based on BTU rating and gas type, which increased complexity and the risk of error. The Universal Gas Orifice streamlines this process by offering a single, adjustable orifice compatible with a wide range of BTU outputs and both gas types. This versatility reduces inventory requirements, simplifies field service, and minimizes installation time. Follow these installation instructions and HPC’s innovative UGO will not disappoint!

This diagram shows the proper vertical orientation of the UGO below the burner, using a nipple and coupler for spacing. The gas flow direction must align with the arrow on the UGO


